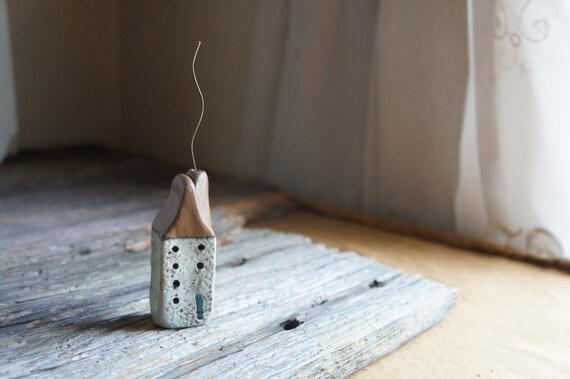
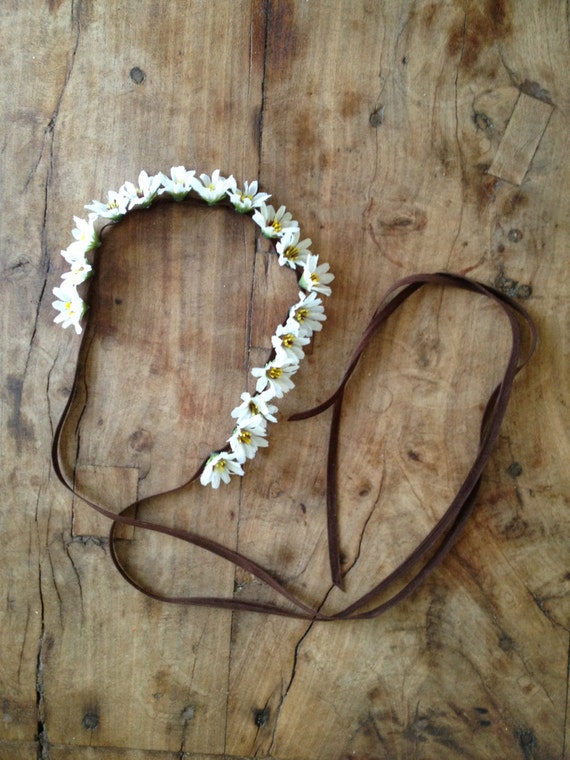
Miniature Cob House (would be so cute for a terrarium!) by mymindsattic
Thursday, August 28, 2014
Fab Etsy Finds
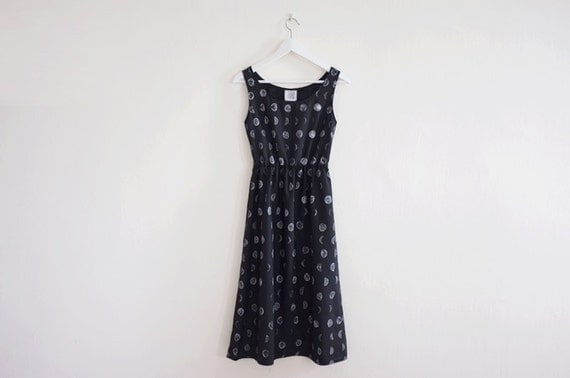
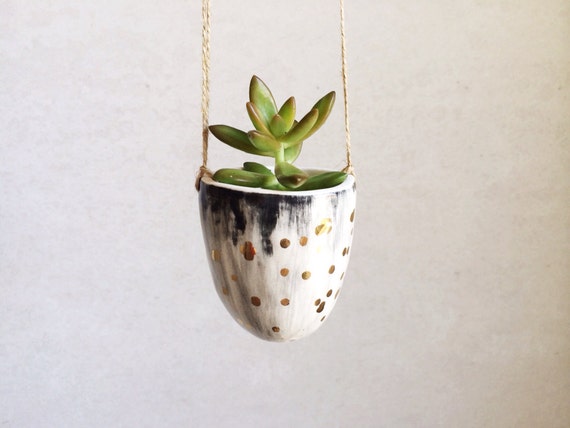
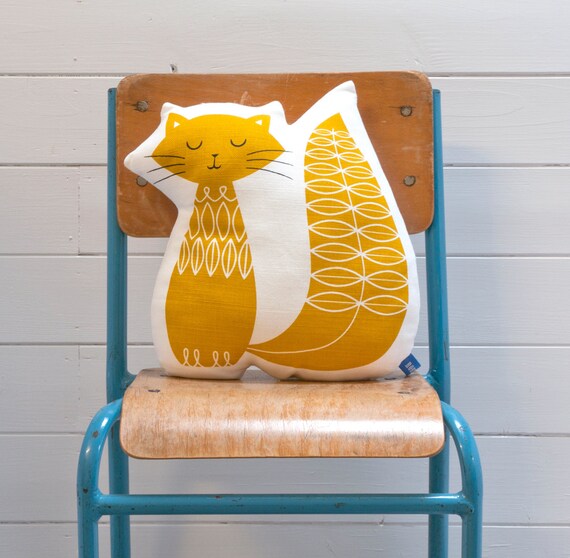
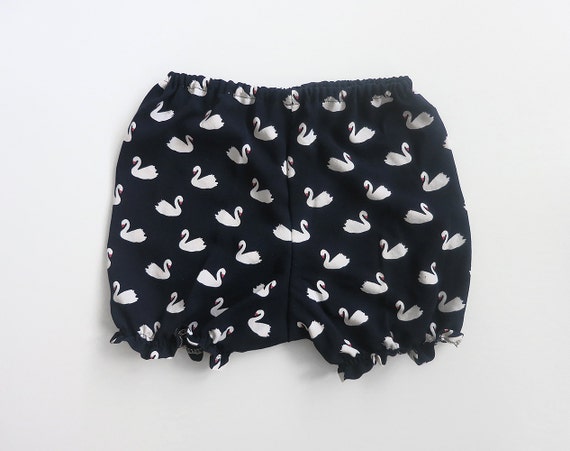
Had to share some of the pretties from Etsy I've been swooning over lately!
Wednesday, August 27, 2014
Toddler craft: name painting
Materials:
1 8x10 canvas
Adhesive letters (mine are from hobby lobby, 50mm helvetica)
Washable crayola paints
Instructions:
Arrange the letters of your child's name in desired position on canvas. It's ok if they don't stick super well, I found they still stayed in place well enough even with a little toddler roughness. Have your little one pain the canvas. Let it dry, could take 3-4 hours depending on how thick the paint is. Peel off the letters. If they moved around a little during painting, you can touch up with white paint or just leave as is like I did, doesn't have to be perfect!
Tuesday, August 26, 2014
vegan lunch idea: creamy avocado garlic pasta
Sometimes I run out of ideas for lunch, and I get tired of the same old thing all the time, so I decided to get creative with the ingredients I had on hand. This recipe turned out to be super simple and delicious!
Ingredients:
8 oz dry pasta (I used quinoa/rice fusili)
1 avocado
2 cloves garlic, unpeeled
Handful baby carrots
Handful kale leaves
1/3 cup olive oil or more, depending on what consistency you want
Sea salt and pepper to taste
Directions:
Bring pasta water to boil, add pasta and unpeeled garlic cloves. Cook pasta according to package directions. Meanwhile, peel and chop your avocado, and wash your other veggies. When pasta is done, drain it and remove garlic cloves. Add the avocado, kale, carrots, cooked garlic, olive oil and salt and pepper to your blender or food processor. Blend until smooth and toss with pasta immediately. Enjoy!
Monday, June 30, 2014
My favorite beauty products
Sharing what's currently in my makeup bag!
face:
1. Pur Minerals 4-in-1 Pressed Mineral foundation in Light. This has moderate coverage, keeps your face matte, and provides SPF 15.
2. Physicians Formula Mineral 3-in-1 Corrector + Brightener + Bronzer, Light Bronzer This gives a warm bronze glow without being to dark or harsh. I use this in the summer time to give my face a little color instead of tanning from the sun (skin cancer, yikes!).
3. Pur Minerals pressed mineral blush in Diamond Rose. I use this rosey color in winter time on the apples of my cheeks so I don't look quite so pale :)
lips:
4. Beridan Naturals lip balm in clove. This balm is made with all natural ingredients like beeswax, coconut oil, shea butter, etc. and is my go-to overnight lip moisturizer. Also, the smell is AMAZING!
5. Burt's Bees tinted lip balm in hibiscus. I've been a fan of Burt's Bees for years. This balm goes on smooth and is a very natural looking hint of color.
scent:
6. Tokyo Milk's Ex Libris This scent is warm and earthy. It really does remind me of old books! I normally wear it in autumn and winter.
7. Pacifica Tuscan Blood Orange I have a slight obsession with blood oranges. This helps me get my fix :) Great scent for summer, and made with pure grain alcohol with essential and natural oils. LOVE.
nails:
8. Essie's Carousel Coral. A lovely coral color for spring/summer.
9. Essie's Mint Candy Apple. Mint green is definitely one of my favorite colors of all time and this is the perfect shade.
moisturizer:
10. Everyday Coconut daily face lotion. SPF 15 moisturizing lotion made with fair trade coconut oil. Feels light and protects me from the brutal summer sun. I wear this under my pressed foundation.
11. Organic virgin coconut oil. Yes, you read that right. Just straight coconut oil is what I like to use for my nighttime moisturizer. Also works well for removing eye makeup.
eyes:
12. Bare Minerals brow kit. Apparently this product is no longer in production, which is a shame because I love it :( I'll have to look into alternatives for when mine runs out.
13. Bare Minerals Ready Eyeshadow 4.0 in The Happy Place. A great quad of neutral earth tones.
14. Bare Minerals Ready Eyeshadow 8.0 in The September Issue. A lovely palate with a mix of neutrals and a couple fun pops of color. Very pigmented.
15. Rimmel Exaggerate felt tip liquid liner. Inexpensive, and works great. I love the fine point felt tip for the cat eye effect. Much easier than the brush type in my opinion.
16. NYX Doll Eye mascara. I use Extreme Black. Goes on clump-free and has microfibers that add length and volume.
17. Covergirl Perfect Point Plus eyeliner in Black Onyx. Smooth and easy to apply. I like it for my lower lash line. It comes with a smudge tip at the end, which comes in handy for a smoky eye look.
What are your beauty must-haves right now?
Sunday, June 22, 2014
Europe trip part 2: Paris
day 6 continued: we arrived in Paris, checked into our hotel and strolled around Montmartre, which was where our hotel was located. We had a gorgeous view of the city from our room. Next we headed over to Champ Élysées and window shopped, and of course picked up a crepe from a street vendor to hold us over til we made it to LaDuree for the best macarons ever! I had pretty high expectations and they did not disappoint! It was really hard to choose with all the lovely colors/flavors available, but I managed to narrow it down to: Marie Antionette (a lovely aqua blue), pistachio, orange blossom and rose. At dusk, we made our way to the Eiffel Tower and hung out there for awhile and got to see the light show, sooo pretty!
Monday, May 19, 2014
Europe trip part I: Amsterdam
Sorry about the long absence from the blog! My husband and I took our first overseas trip together for our 8th anniversary. It was a lovely getaway and we saw so many great sights (and ohh, the food!) I will be posting a recap of the trip in two segments...
The first place we went was Amsterdam. Our journey went like this:
day one: We explored the city, went to eat at a cute little place called Pancakes!, checked out some vintage shops, and just took in the beautiful canal houses and bridges, especially as they lit up in the evening. We found a great vegetarian/vegan cafe for dinner, de bolhoed.
Thursday, April 3, 2014
Toddler Craft: Nautical Magnets
Lately one of little A's favorite things to do is to paint with watercolors. I found the cutest little wooden shapes at Michaels for $0.29 each and they take watercolors quite well :) I love this craft because it can be displayed without taking up a ton of space and it also serves a purpose on the fridge.
Materials:
Wooden shapes of your choice
Magnets* (I used Neodymium rare earth kind, but any variety at your craft store will work)
Glue (I used Elmer's probond advanced non-toxic glue)
Watercolors and brushes
*NEVER leave a toddler alone with magnets, the magnets are meant to be glued on with adult supervision only.
Directions:
1.Have your child paint the wooden shapes with the watercolors...if you have a younger child you may need to help them fill in all the bare spots.
2. Allow watercolors to dry for a couple hours. Add a dollop of glue to the center of the back of the shapes, place magnet on to and allow to set for 24-48 hours.
Subscribe to:
Posts (Atom)

